2007 Kawasaki KLX 250s Storm Case Mod
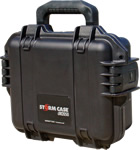
Ok, so I've heard about the Pelican Case Mod, but I prefer Hardigg
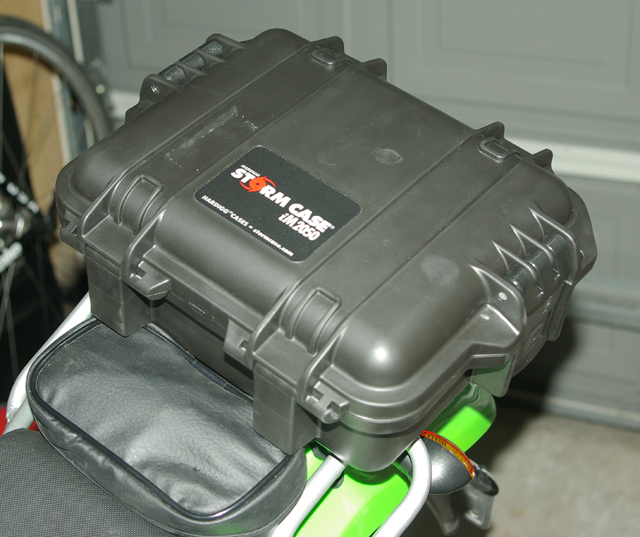
Storm Cases as they appeal more to my aesthetic (have less ridges) and the
Storm (iM2050) case latches from the side in this size.
To do this mod there are a few things you're gonna need besides the parts list.
You will need sockets or wrenches to take the rear rack off as well as a Drill and some drill bits (duh).
You could probably get away with not taking off the rear rack, but in doing so, makes it so much easier.
You will also disconnect the rear turn signals when you remove the rear rack.
It's a pretty easy mod; trust me.
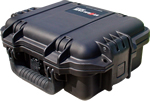
I picked
up a Storm Case iM2050. You can pick them up here at Cases
for Less.
You can find these cases anywhere they sell Pelican Cases (unless Pelican is
the only brand carried in the store you're in).
Scuba Diving stores are also
a good place to get these cases.
The case I used should run you about $30-55.
The specs of the case are..
- Inside Dimensions (L,W,D): 9.5x7.5x4.25
- Outside Dimensions (L,W,D): 11.5x9.8x4.7
- Weight:2
- Colors: Black
Most of the parts for the project came from Lowes, which is a Hardware store in the United States and from the local hardware store.
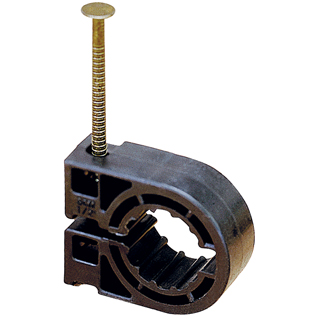
- Sioux Chief 1/2" Padlock Clamp With Nail - 10 Pack - Item #: 23800 Model:
L20054 - $1.97 on the Lowes website.
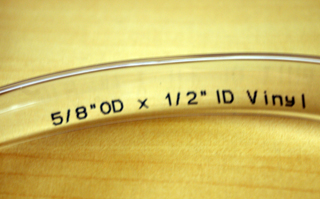
- Also from Lowes - 5/8" OD x 1/2" ID Vinyl Clear Hose - you only need about
6" but they sell it by the foot. I bought 2' so I had extra - $1.00
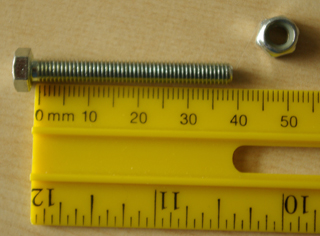
- 8mm x 40mm (8.8 Stainless) Bolt with washers and nuts - I used a Nylon lock nut - 4 - $2.00
at your local hardware store.
Here are the steps.
- Remove the Seat and side panels.
- Disconnect the rear turn signal wires and un-route them. It's easy as the
connections are little pin/receptacles
- Pull/push the rear turn signal wires through the grommets in the rear fender,
so the entire wires are free.
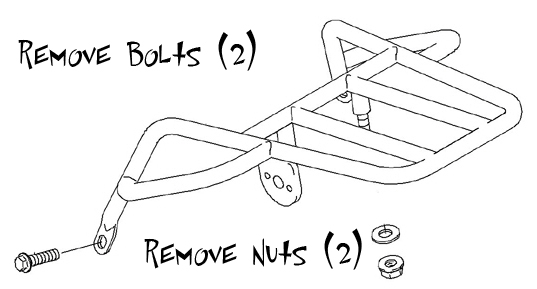
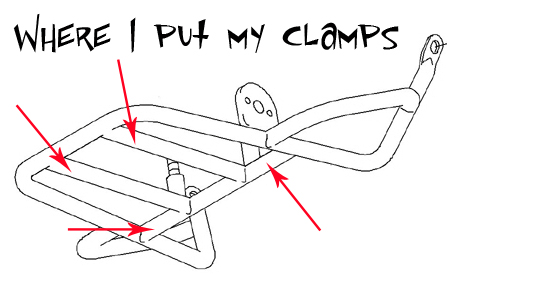
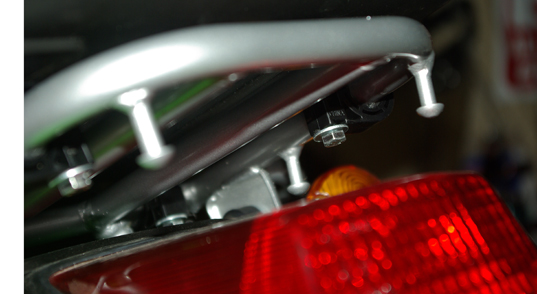
- Remove the rear Rack. ( Two bolts on the side and the rack itself is "studded"
so you only have to remove the nuts from the studs).
*In the image below, the turn signals are removed.
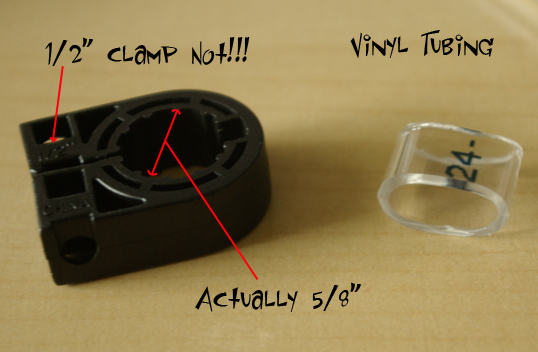
- Take some of the vinyl hose and cut 4 little strips that match the width
of the clamps. You are doing this step because the clamps are called 1/2 inch,
but they are not.
The clamps are actually 5/8 inch as they are made for 1/2 ID PVC pipe! The
KLX250 rack tubing diameter *is* 1/2 inch!
The tubing makes a perfect fit since the tubing is 5/8 inch.
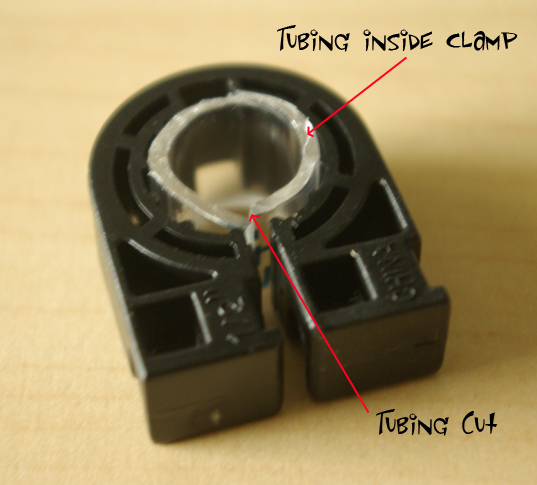
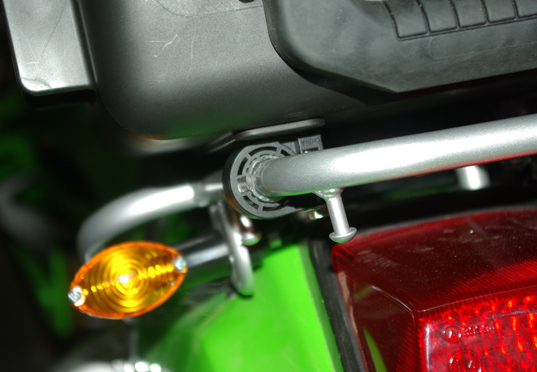
- Take the 4 little strips and place them as spacers inside 4 of the clamps.
This works really well. The tubing makes up for the 5/8 inch and will compress
a little when you tighten things up.
I suppose you could wrap a little electrical tape around the tubing for a tighter fit once you get it on the bike, but that's not necessary.
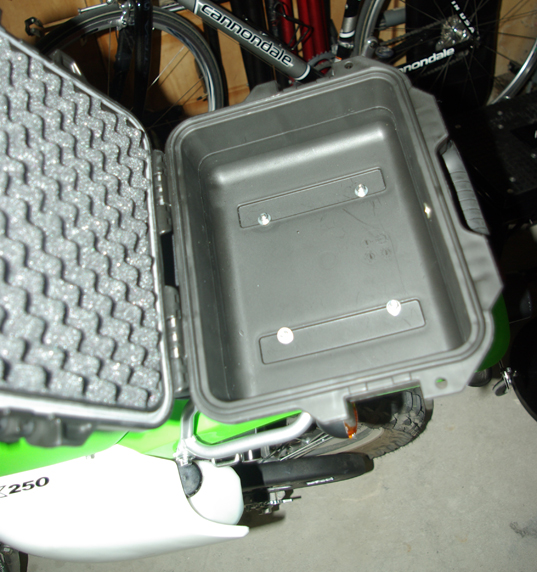
- Now take the rack and turn it upside down. Place the rack on the underside of the case and put the 4 clamp/tubing assemblies in a place you are comfortable with.
- When you are comfortable with the location, mark the location with a scribe or one of the nails that came with the clamp.
Measure many times because you are going to drill your case and you only have one chance to get it right!
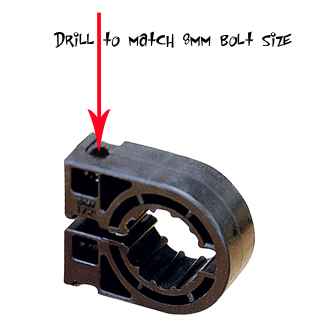
- Drill the holes through the 4 clamps first with a drill bit that is the size of the 8mm bolt.
You do this because the clamps were designed for nails and not bolts.
- Drill ONE hole at a time through the case and mount your clamp as you work your way to the others.
By doing so, you are assured that the holes in the case will be perfect.
It takes a little more time doing it this way, but you don't end up with 4 holes that are a little "off" and your case is ruined!
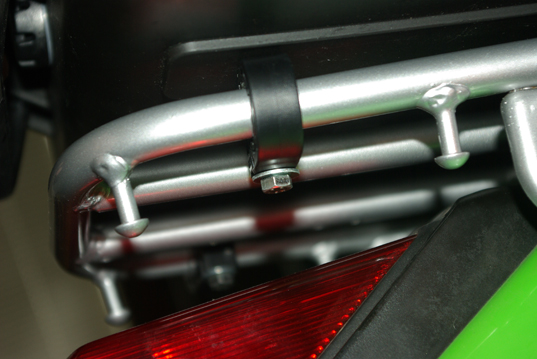
- When the 4 holes are drilled and the bolts are mounted and tightened, re-install the rack
- Re-route the wires for the turn signals and connect them
- Re-install the seat and side panels
- Admire a very cool and professional job, mounting your Storm case!
Feb 22 2008.
Lauren